Wednesday, May 22, 2013
My Tutorials...Kind of...
For my "tutorials" I made some sprites for a small app/game that I am collaborating with mark. I did the walk cycles and created a simple background. I still need to make some obstacles for him to jump over. I knew how to do sprites in the past but this was the first time I had to create frames for different animation cycles. It was all very simple and this is more for fun than work but here it is. The dinosaur has a few cycles that I did that were idle, walk, and something else but we just need the walk cycle.
Wednesday, March 27, 2013
sky dome
this is the texture i made with just basic Photoshop brushes that I will apply to the sky dome to give the atmosphere a dark cloudy look.
Signs
These will appear when a new wave and a final wave is on its way. They both feature candies that I made on Photoshop with confetti to add to the festive theme of pinatas. They are on a transparent layer so it appears in the game as decorative floating text.
Friday, March 22, 2013
bear texturing
This is our sidekick bear we don't have a name yet for him. I just textured him like the others. His rig will be a bit more complicated and I hope the texture moves with him. I wanted him to be more complicated and brightly colored but he still has the effects of the pinata apocalypse...
little girl texture
If you are wondering it is because I can. I worked on her for about two days and the hardest part was getting the hair textures to line up around her head so she didn't look bald, creepy, or like Jim Carry from dumb and dumber. This lighting isn't very good but she still looks super creepy even when not in zombified form. I need to learn how to make skin look real because you cant really see it from further away but the skin up close has a lot of detail. I couldn't find a way to make her eyes look good. She is a man lady either way...
Tuesday, March 19, 2013
basement texturing!
This has been my work since skills to texture this basement pretty much completely with photoshop textures because there are issues with layered maya textures. I have made more photoshop textures than this but these are a few examples. I don't know if I have learned anything except that grime looks cool in basements. No I have learned that seamless textures are very hard to make correctly and that was kind of self learned. I am also trying to make the textures look more 3D by painting highlights and shadows onto them which I wasn't really doing before. Sorry I haven't turned in much stuff yet but the group really want's the basement to be textured completely and soon, so I am about 93% done with it and then I will go back and tweak and then on to something new. Most things in the basement if not all were photoshop textured including the tile floor :)
Monday, February 25, 2013
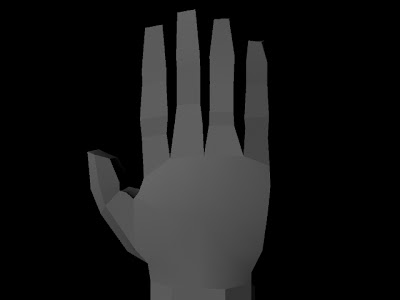
Hand Group Tutorial Number Last?
Thursday, February 14, 2013
lamp lighting tutorial
I am still working on this but this is what I got from the origional tutorial seen here: http://www.cgsutra.com/autodesk_maya_tutorials/m0002_lamp_shade/maya_lamplight.php.
I learned how to use spotlights, point lights, and an area light to create the natural lighting that a lamp would make. It didn't take me very long to do but I want to add photons and more stuff to the scene.
I learned how to use spotlights, point lights, and an area light to create the natural lighting that a lamp would make. It didn't take me very long to do but I want to add photons and more stuff to the scene.
Tuesday, February 12, 2013
Mental Ray Lighting Tutorial
I learned how to use photons for indirect lighting using mental ray. I like how the colors bounce off of each other. UUUUuuuummmmm....I just used two area lights and messed with the settings to get a nice reaction from the lights. http://www.digitaltutors.com/11/training.php?vid=4338&autoplay=1 <--- This is the tutorial I used and I just watched it and tried it out on my own.
Other things I have done for my group last week...
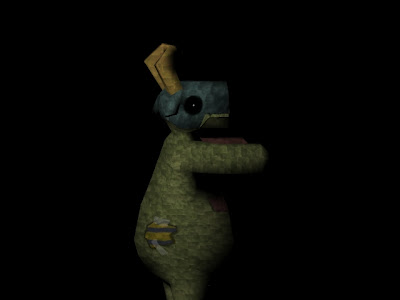
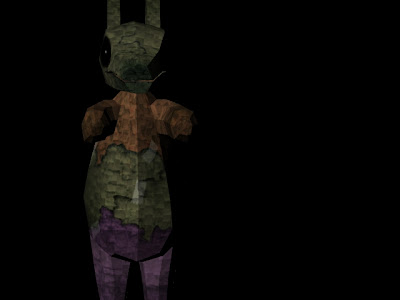
I basically used my bunny to copy the style of the zombies and I learned how to effectively place textures on a UV map. It is really easy just to take the textures and copy them and then change them up to make different variations. I am thinking just to change the colors to create a wider variation of zombies. And then I made a stick for mark, to beat up zombies...just a random stick. I want to redo the textures on our tree and make a low poly tree.
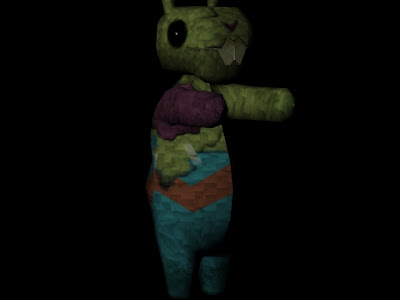
Monday, February 4, 2013
Group Tutorial #1 Texturing
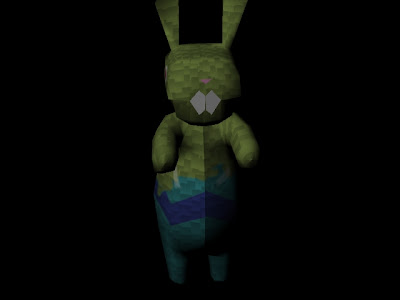
So this is the texture tutorial I kind of made up in order to create an awesome freaky bunny pinata for my group. I started off with the base that Travis gave me consisting of the little pinata confetti bits. I would map this under the UVs. The UV layer was a screen layer so I could turn it on and off when I needed and still see my work. I would then use saturation/hue layers along with the polygonal selection tool to select areas and create maps for the ziz zag stripe and the arm layer. I used my knowledge of the tape tutorial from freshman year and I used that to create tape to hold the pinata together. Under the layer I added grime using transparency and I think either soft light or saturation layers. The teeth were my favorite part and the eyes which were basicly a black brush with a small white dot to make it creeeeepppyyyyy. The previous versions of the maps I used to find where things were going and to have a place holder.
Friday, February 1, 2013
Low Poly? Tutorial
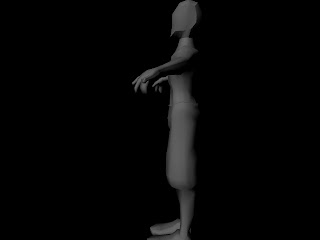
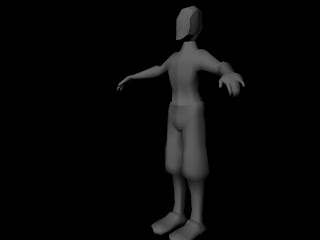
He doesn't have swords. Sorry, too many other tutorials to do. He actually failed right after I took these photos so now he has no head. Low poly characters are difficult, I won't lie. His hands for me were probably the easiest thing to do along with the head. The legs weren't too bad. I need to learn how to connect things better. I know that his body isn't very proportional. Sorry about that too. Proportions are hardest for me to do. I find it easier to draw them on paper. He did have quite a few polys but less than anything I have done. The most "polyfied" things were his hands.
Wednesday, January 23, 2013
Tutorial
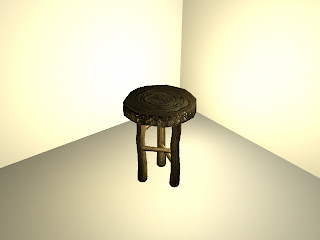
This is not exactly like the tutorial because she used an actual photo of wood while I had to create my own. I need to play with the displacement maps a bit more because this only has a bump map on this version. I understand that the lighting isn't cool either but I just wanted the object to be visible. I found that the mapping was relatively easy and I had a photoshop texture map in no time. I found that making a wood texture in photoshop is awful and difficult when you haven't used photoshop in over a year. I had some issues with the quality of the photoshop files and the quality of the textures but I will make sure that the quality is higher next time. I might just redo this tutorial with actual photographs to see if that makes any difference. http://www.joyoge.com/listing/
These are the tutorials that I followed.
Subscribe to:
Comments (Atom)


