Monday, February 25, 2013

Hand Group Tutorial Number Last?


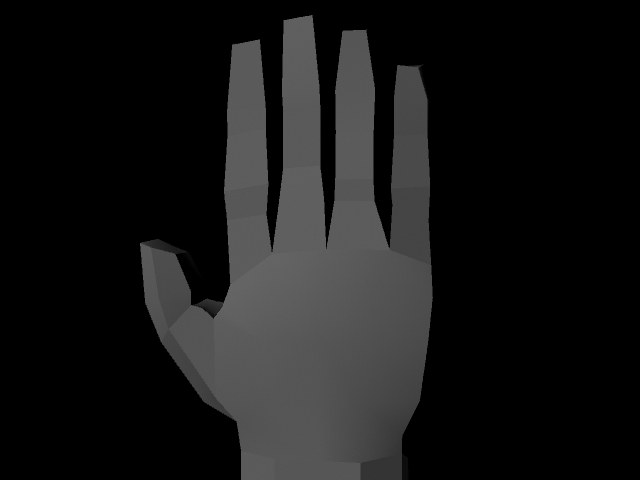
I modeled this hand using my own hand and random pictures from google to get a semi realish hand shape with low poly modeling for my group. I don't know if they will want to use it but I can always refine it and shape it to work with what they want. This is very basic. I also watched a youtube tutorial that started out as a basic cube and extruded to become a very well detailed hand as seen here: http://www.youtube.com/watch?v=J1mExXURsWk. 

Thursday, February 14, 2013

lamp lighting tutorial

I am still working on this but this is what I got from the origional tutorial seen here: http://www.cgsutra.com/autodesk_maya_tutorials/m0002_lamp_shade/maya_lamplight.php.
I learned how to use spotlights, point lights, and an area light to create the natural lighting that a lamp would make. It didn't take me very long to do but I want to add photons and more stuff to the scene.

Tuesday, February 12, 2013

Mental Ray Lighting Tutorial


I learned how to use photons for indirect lighting using mental ray. I like how the colors bounce off of each other. UUUUuuuummmmm....I just used two area lights and messed with the settings to get a nice reaction from the lights. http://www.digitaltutors.com/11/training.php?vid=4338&autoplay=1 <--- This is the tutorial I used and I just watched it and tried it out on my own.

Other things I have done for my group last week...


I basically used my bunny to copy the style of the zombies and I learned how to effectively place textures on a UV map. It is really easy just to take the textures and copy them and then change them up to make different variations. I am thinking just to change the colors to create a wider variation of zombies. And then I made a stick for mark, to beat up zombies...just a random stick. I want to redo the textures on our tree and make a low poly tree.

Monday, February 4, 2013

Group Tutorial #1 Texturing


So this is the texture tutorial I kind of made up in order to create an awesome freaky bunny pinata for my group. I started off with the base that Travis gave me consisting of the little pinata confetti bits. I would map this under the UVs. The UV layer was a screen layer so I could turn it on and off when I needed and still see my work. I would then use  saturation/hue layers along with the polygonal selection tool to select areas and create maps for the ziz zag stripe and the arm layer. I used my knowledge of the tape tutorial from freshman year and I used that to create tape to hold the pinata together. Under the layer I added grime using transparency and I think either soft light or saturation layers. The teeth were my favorite part and the eyes which were basicly a black brush with a small white dot to make it creeeeepppyyyyy. The previous versions of the maps I used to find where things were going and to have a place holder.

Friday, February 1, 2013

Low Poly? Tutorial


He doesn't have swords. Sorry, too many other tutorials to do. He actually failed right after I took these photos so now he has no head. Low poly characters are difficult, I won't lie. His hands for me were probably the easiest thing to do along with the head. The legs weren't too bad. I need to learn how to connect things better. I know that his body isn't very proportional. Sorry about that too. Proportions are hardest for me to do. I find it easier to draw them on paper.  He did have quite a few polys but less than anything I have done. The most "polyfied" things were his hands.